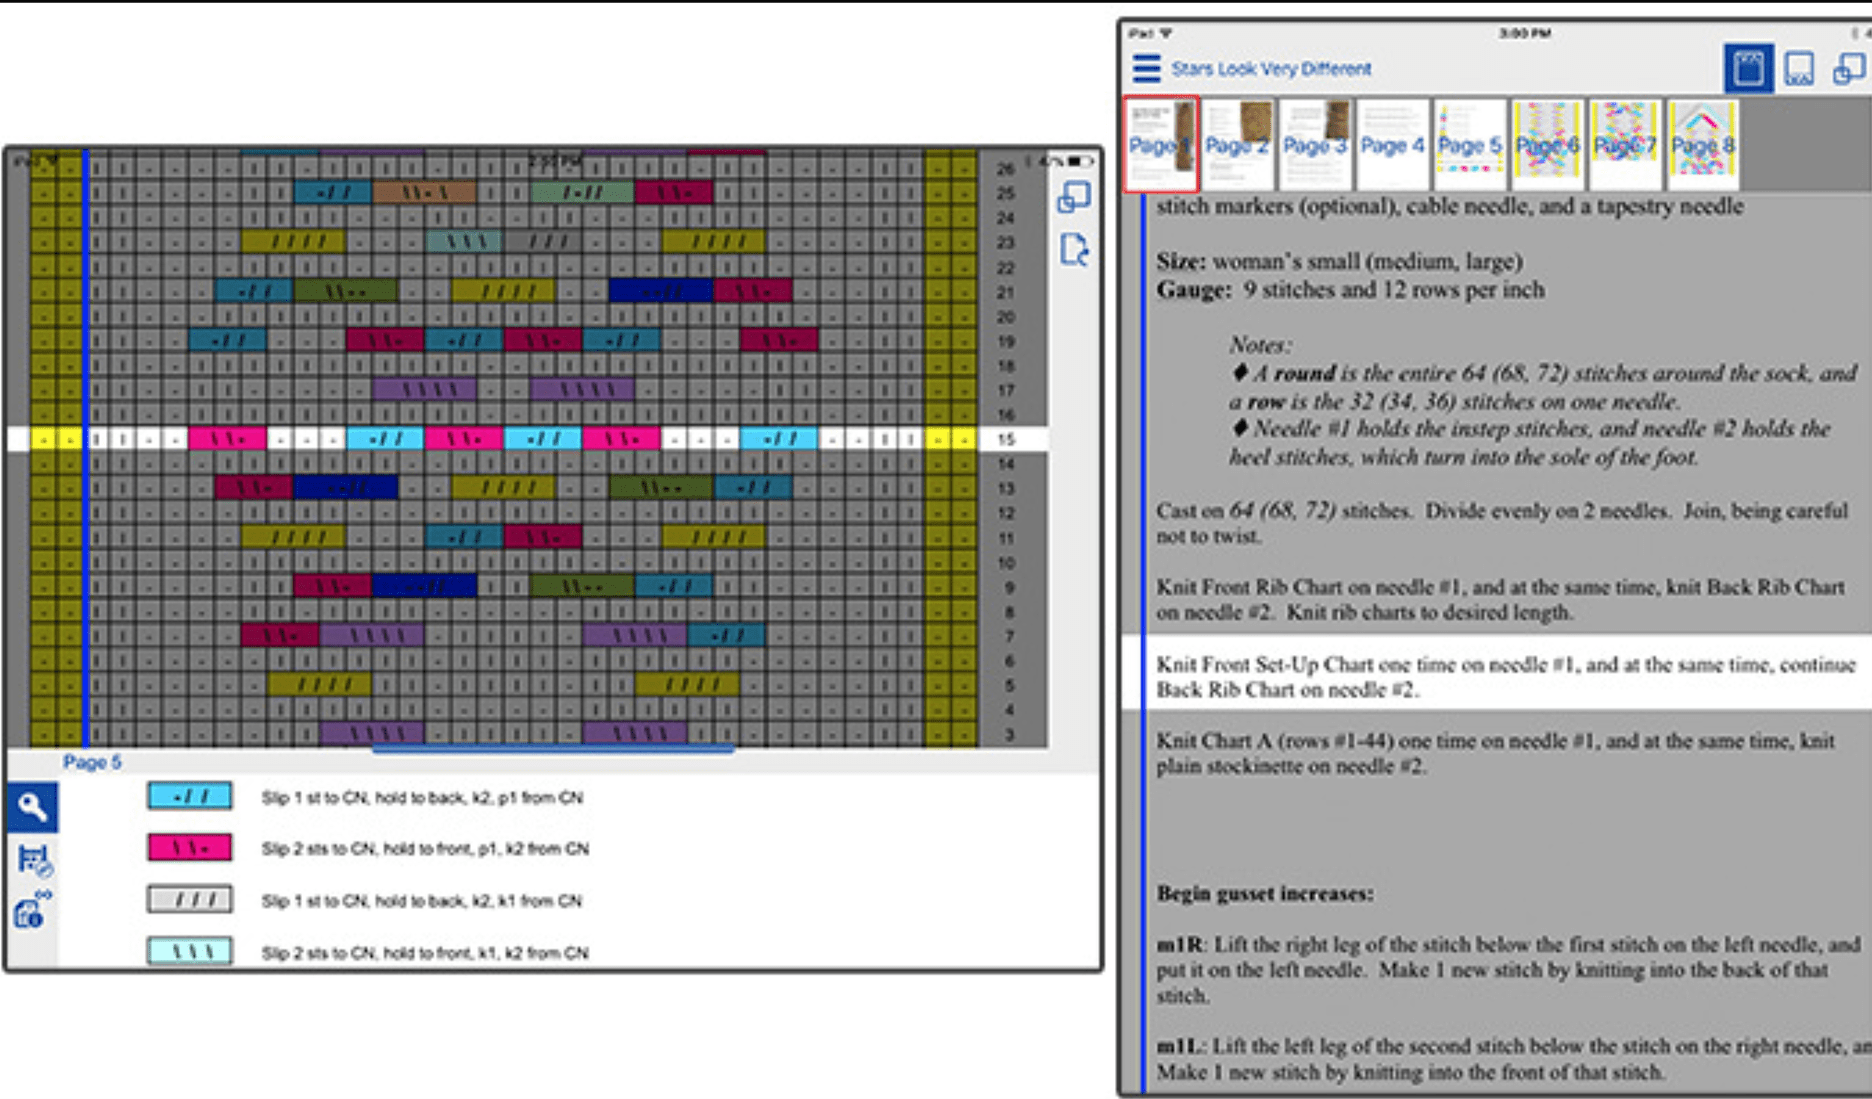
Customize Markers
Every page has two markers by default: a row marker and a stitch marker. They are available on every page (written or chart) when on the main knitting page. Show Me
- Row Marker: Slides up and down or advances with the one-tap. Your row marker will be either the sliding row marker or a one-tap marker.
- Stitch Marker: Slides side to side.
Markers stay in place as you zoom and scroll. Drag a marker to move it, moving a marker affects only the current page so you can drag on one page without losing your spot on other pages.
The sliding markers default to the center of the page so you may need to scroll or zoom to bring them into view when you first create a project.
You can set your preferred default settings in Settings. We recommend you experiment with the settings on an individual page before changing your global settings.
Customize Your Markers (Setup+Essentials)
You can adjust the width, color, transparency, and invert settings for the markers. You can have different settings for each page.
- Tap Edit. Show Me
- Tap the Customize Markers button. Show Me
- Select the page you would like to edit.
- Use the controls at the bottom to set the width, color, transparency, and invert settings for the markers.
- Your changes here will not affect other pages.
- To change the markers on another page, repeat steps 2-4.
- To set your preferred default, close your project and select Settings. Show Me
Customize the Sliding Row Marker
On pieces without any visible rows defined, you will see the following when editing the marker:

Notice the top left says Row Slider.
You can customize the Sliding Row Marker settings and the Stitch Slider settings.
- Change the color and transparency.
- Tap the color and select a new color from the palette.
- Use the slider above the palette to adjust the transparency.
- Adjust the width of the marker.
- Use the slider to adjust the width of the marker.
- Don’t want to see the markers on a specific page? Toggle the Show setting ON or OFF.
- Important! If you turn the markers OFF for a specific page, you will not see the markers on this page until you turn them back ON.
Customize the One-Tap Marker
On pieces with visible rows defined in setup, you will see the following when editing the marker. When editing the one-tap marker, you will see:

Notice the top left says One Tap. Width of the one tap marker is defined in Setup, see here.
- Set the color you want for odd rows and even rows.
- These are used as you tap through a page with a one-tap marker.
- Invert Setting
- See below for information on this setting.
- Row Reset Setting
- None: The default setting. When this is selected and you advance your one-tap, your chart will not slide left or right.
- Right: This setting returns your chart to the far-right edge when you advance your one-tap marker. Great for knitting in the round!
- Left: If you are following a chart and start at the left edge, this setting returns you to the far-left edge when you advance your one-tap.
- Note: For the Right and Left settings to have effect, you must be working a chart that is zoomed wider than your screen.
- Reset Slider
- Toggle the Reset Slider setting ON or OFF.
- When the Row Reset is set to Right or Left and the Reset Slider setting is ON, it shifts your sliding STITCH marker to the far right or far left. This setting is active even when working a chart that is not wider than the screen, this is because when knitting in the round it can be handy for your stitch slider to be automatically shifted, ready to start tracking on the next row.
- Note: If the Row Reset is set to None, your sliding stitch marker will not shift.
Inverted Markers (Setup+Essentials)
Inverted markers are an extremely popular option and are unique to knitCompanion. An inverted marker can be any color, in this example it is shown in gray.
- Inverted markers make it very easy for your eye to stay on track.
- Inverted markers make working color charts a breeze.
- Adjust the invert setting from within the Marker settings. Toggle the Invert setting ON or OFF.
